Scan Receipts on iPhone Using Scantific
- Hary Suryoatmojo
- 05 Oct, 2025
- 05 Mins read
- Iphone scanner
Keeping track of receipts can be a real headache. Whether you’re managing business expenses, preparing for tax season, or just trying to stay organized, paper receipts have a way of piling up, fading, or disappearing right when you need them most. That’s where Scantific comes in.
Scantific transforms your iPhone into a powerful receipt scanner, making it easy to digitize, organize, and manage all your receipts in seconds. In this guide, we’ll walk you through exactly how to scan receipts using Scantific and share some tips to get the best results.
Why Scan Receipts Digitally?
Before we dive into the how-to, let’s quickly cover why scanning receipts is such a game-changer:
- No more lost receipts - Digital copies are safely stored and backed up
- Easy expense tracking - Perfect for business owners, freelancers, and employees
- Tax preparation made simple - All your receipts in one searchable place
- Warranty and return management - Keep proof of purchase for all your items
- Environmental benefits - Reduce paper clutter and waste
Getting Started with Scantific
Step 1: Download and Install
First things first, download Scantific from the App Store on your iPhone. The app is designed to work seamlessly with iOS, taking advantage of your iPhone’s camera capabilities to deliver professional-quality scans. Use below link/button to download.
Step 2: Open the App and Grant Permissions
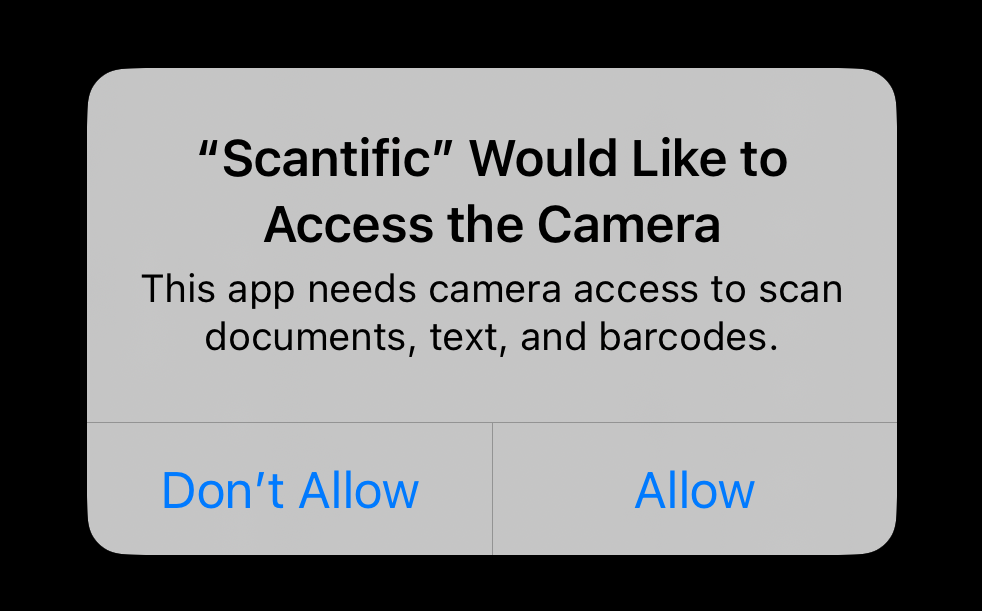
When you first launch Scantific, you’ll need to grant camera access. This allows the app to use your iPhone’s camera for scanning. Simply tap “Allow” when prompted.
How to Scan a Receipt with Scantific
Now for the main event! Here’s your step-by-step guide to scanning receipts:
Step 1: Position Your Receipt
Lay your receipt on a flat surface with good lighting. Natural light works best, but any well-lit area will do. Make sure the receipt is flat and all four corners are visible. If your receipt is wrinkled or curled, try to smooth it out as much as possible.

Step 2: Open the Scanner
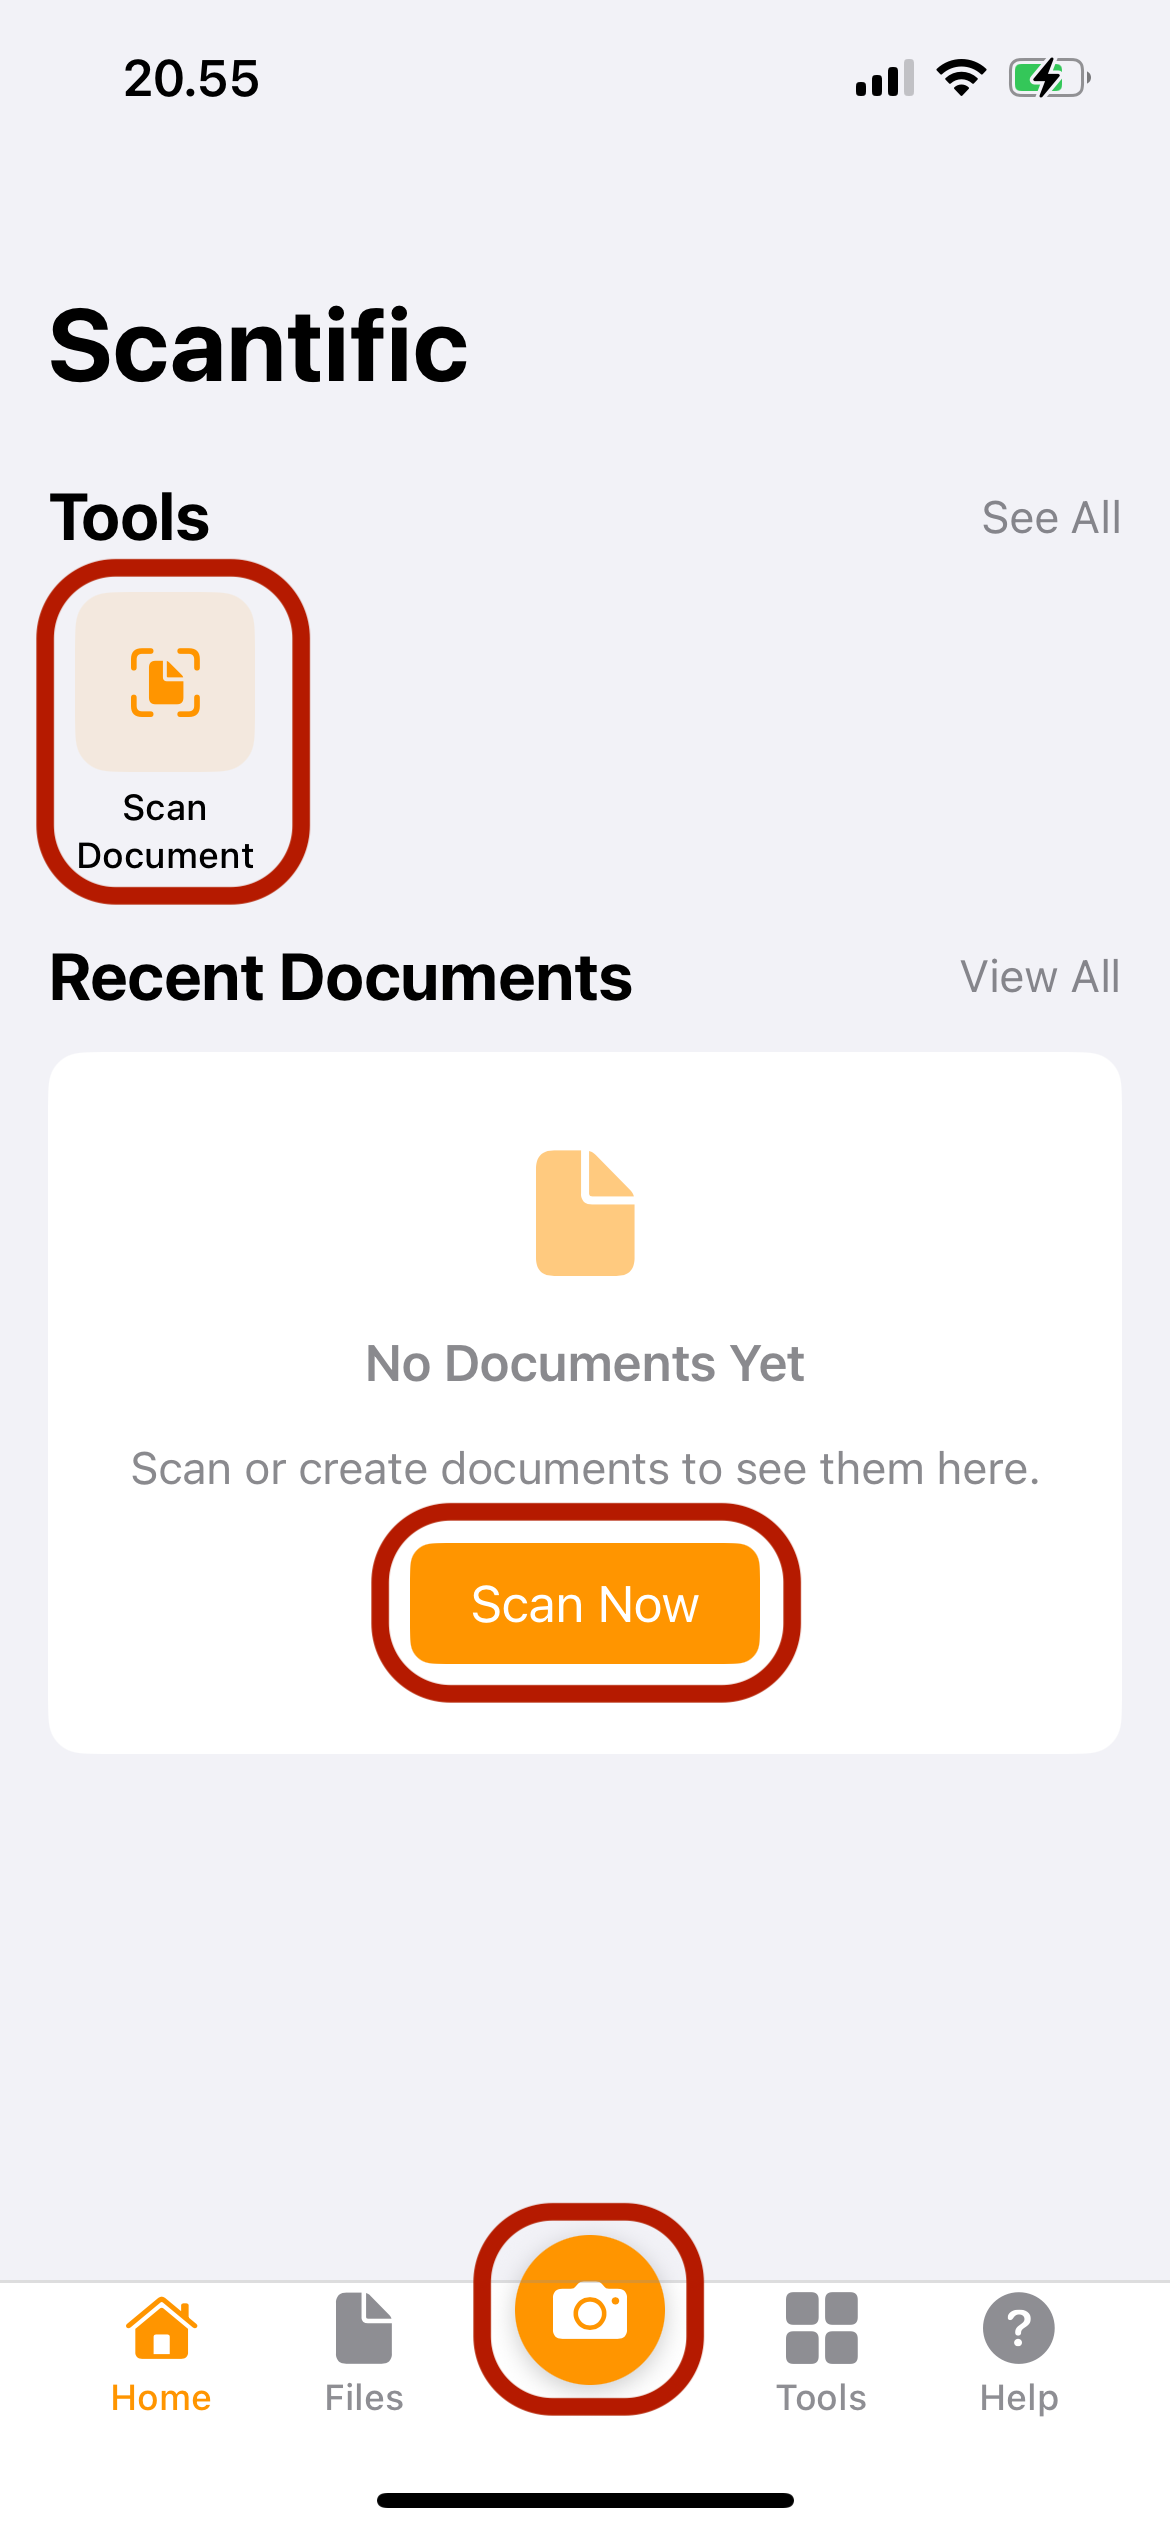
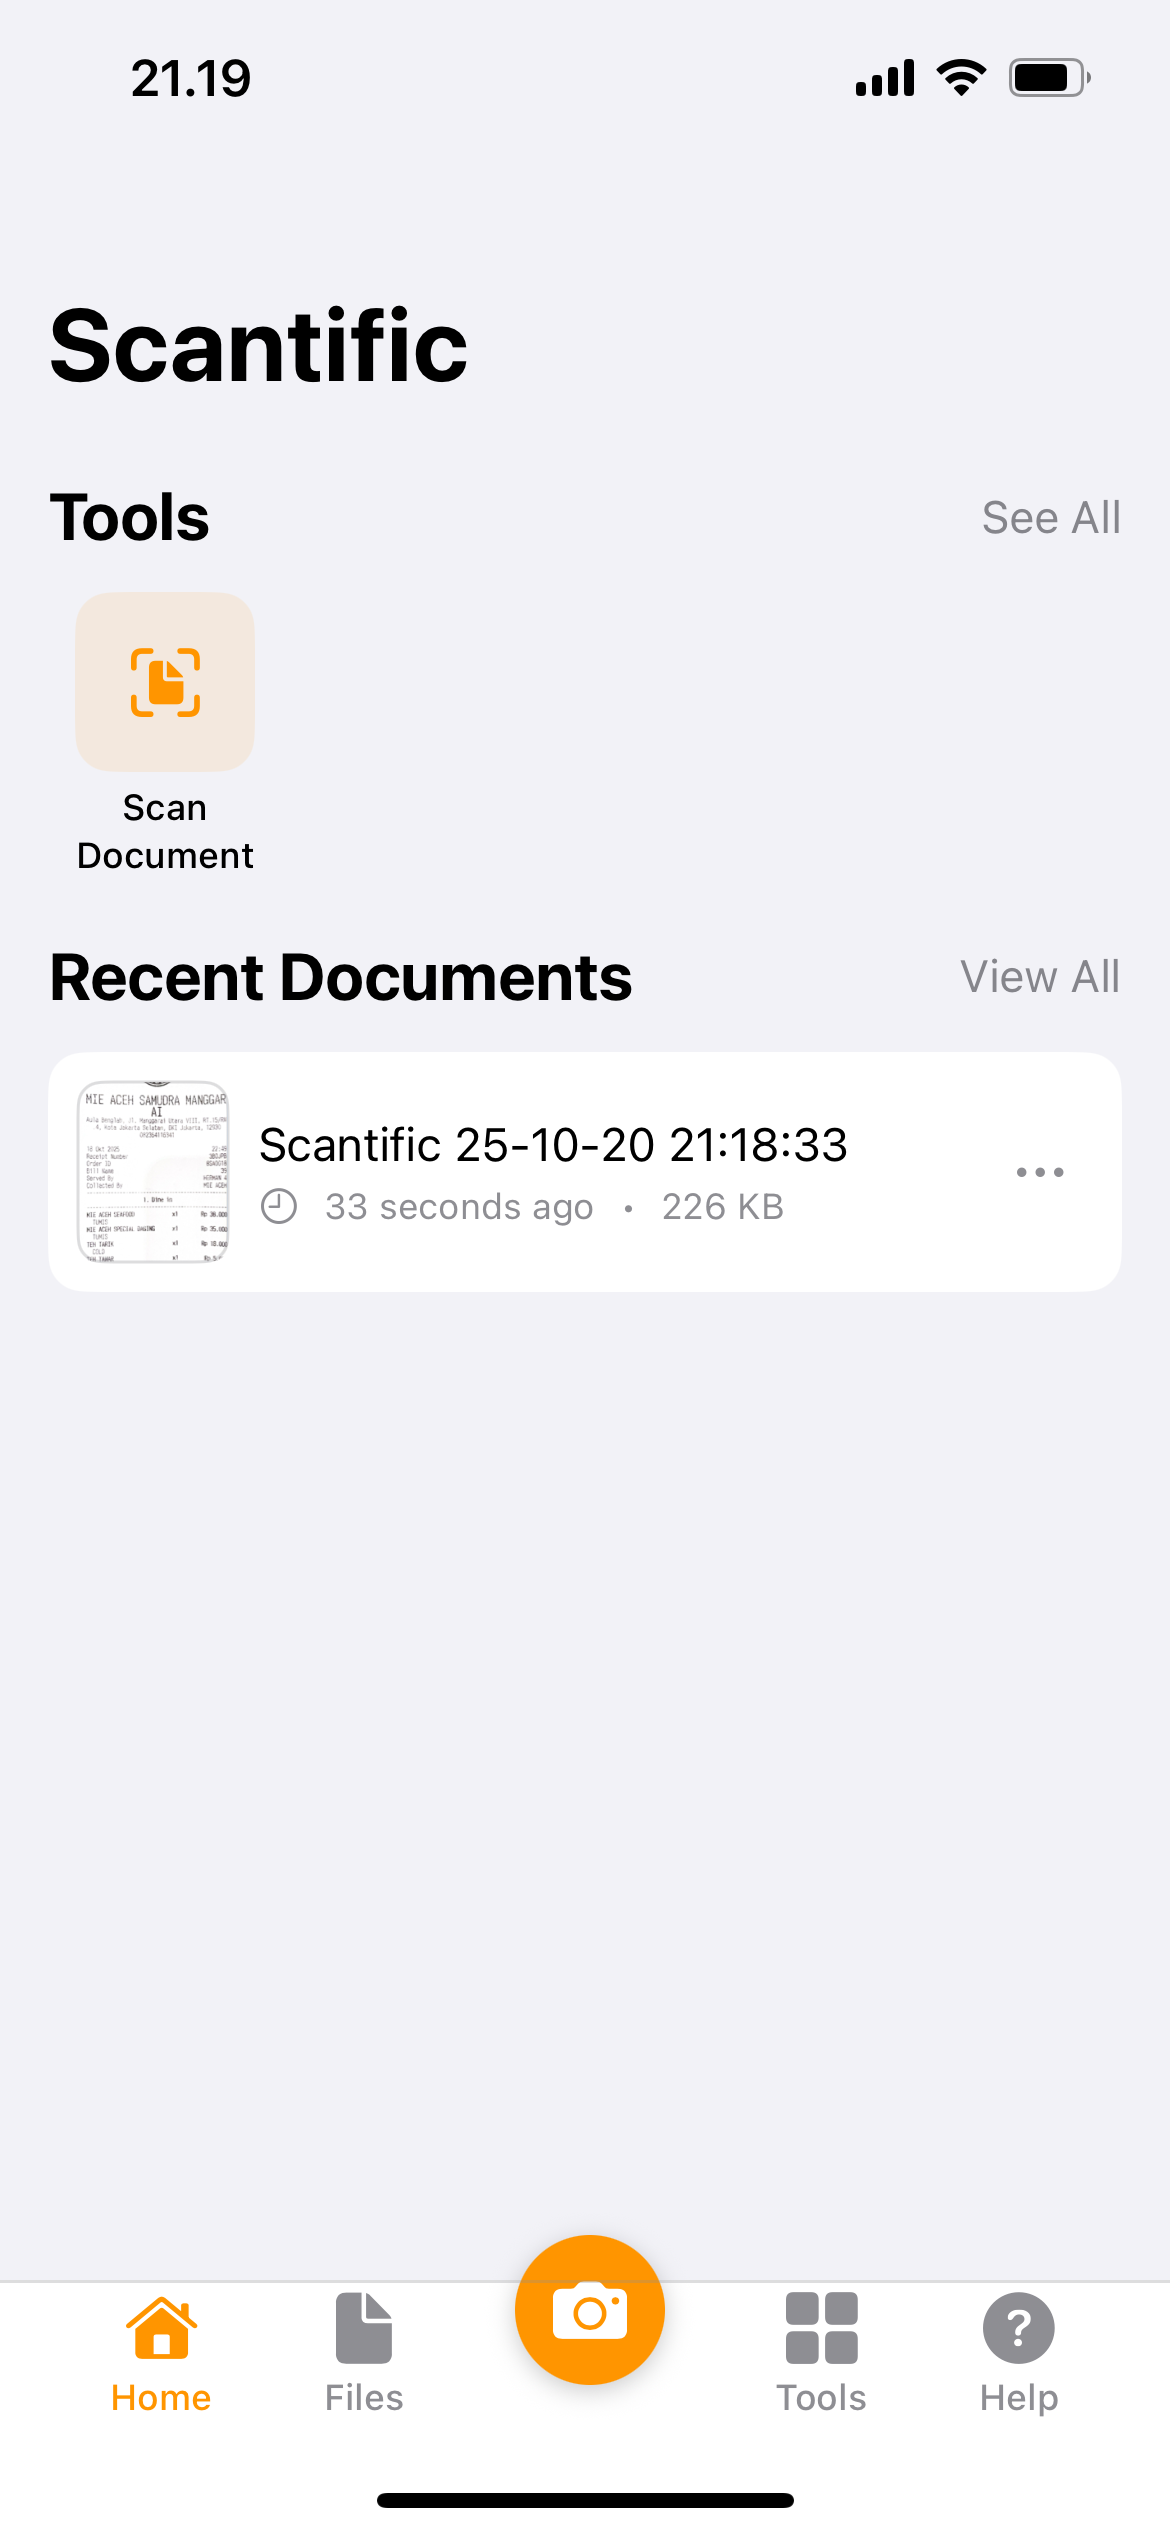
Launch Scantific and tap the scan button (usually a camera icon or prominent scan button on the main screen). There are several locations that you can use to open the scanner as you can see below. Your iPhone’s camera will activate then and ready to capture your receipt.
Step 3: Frame the Receipt
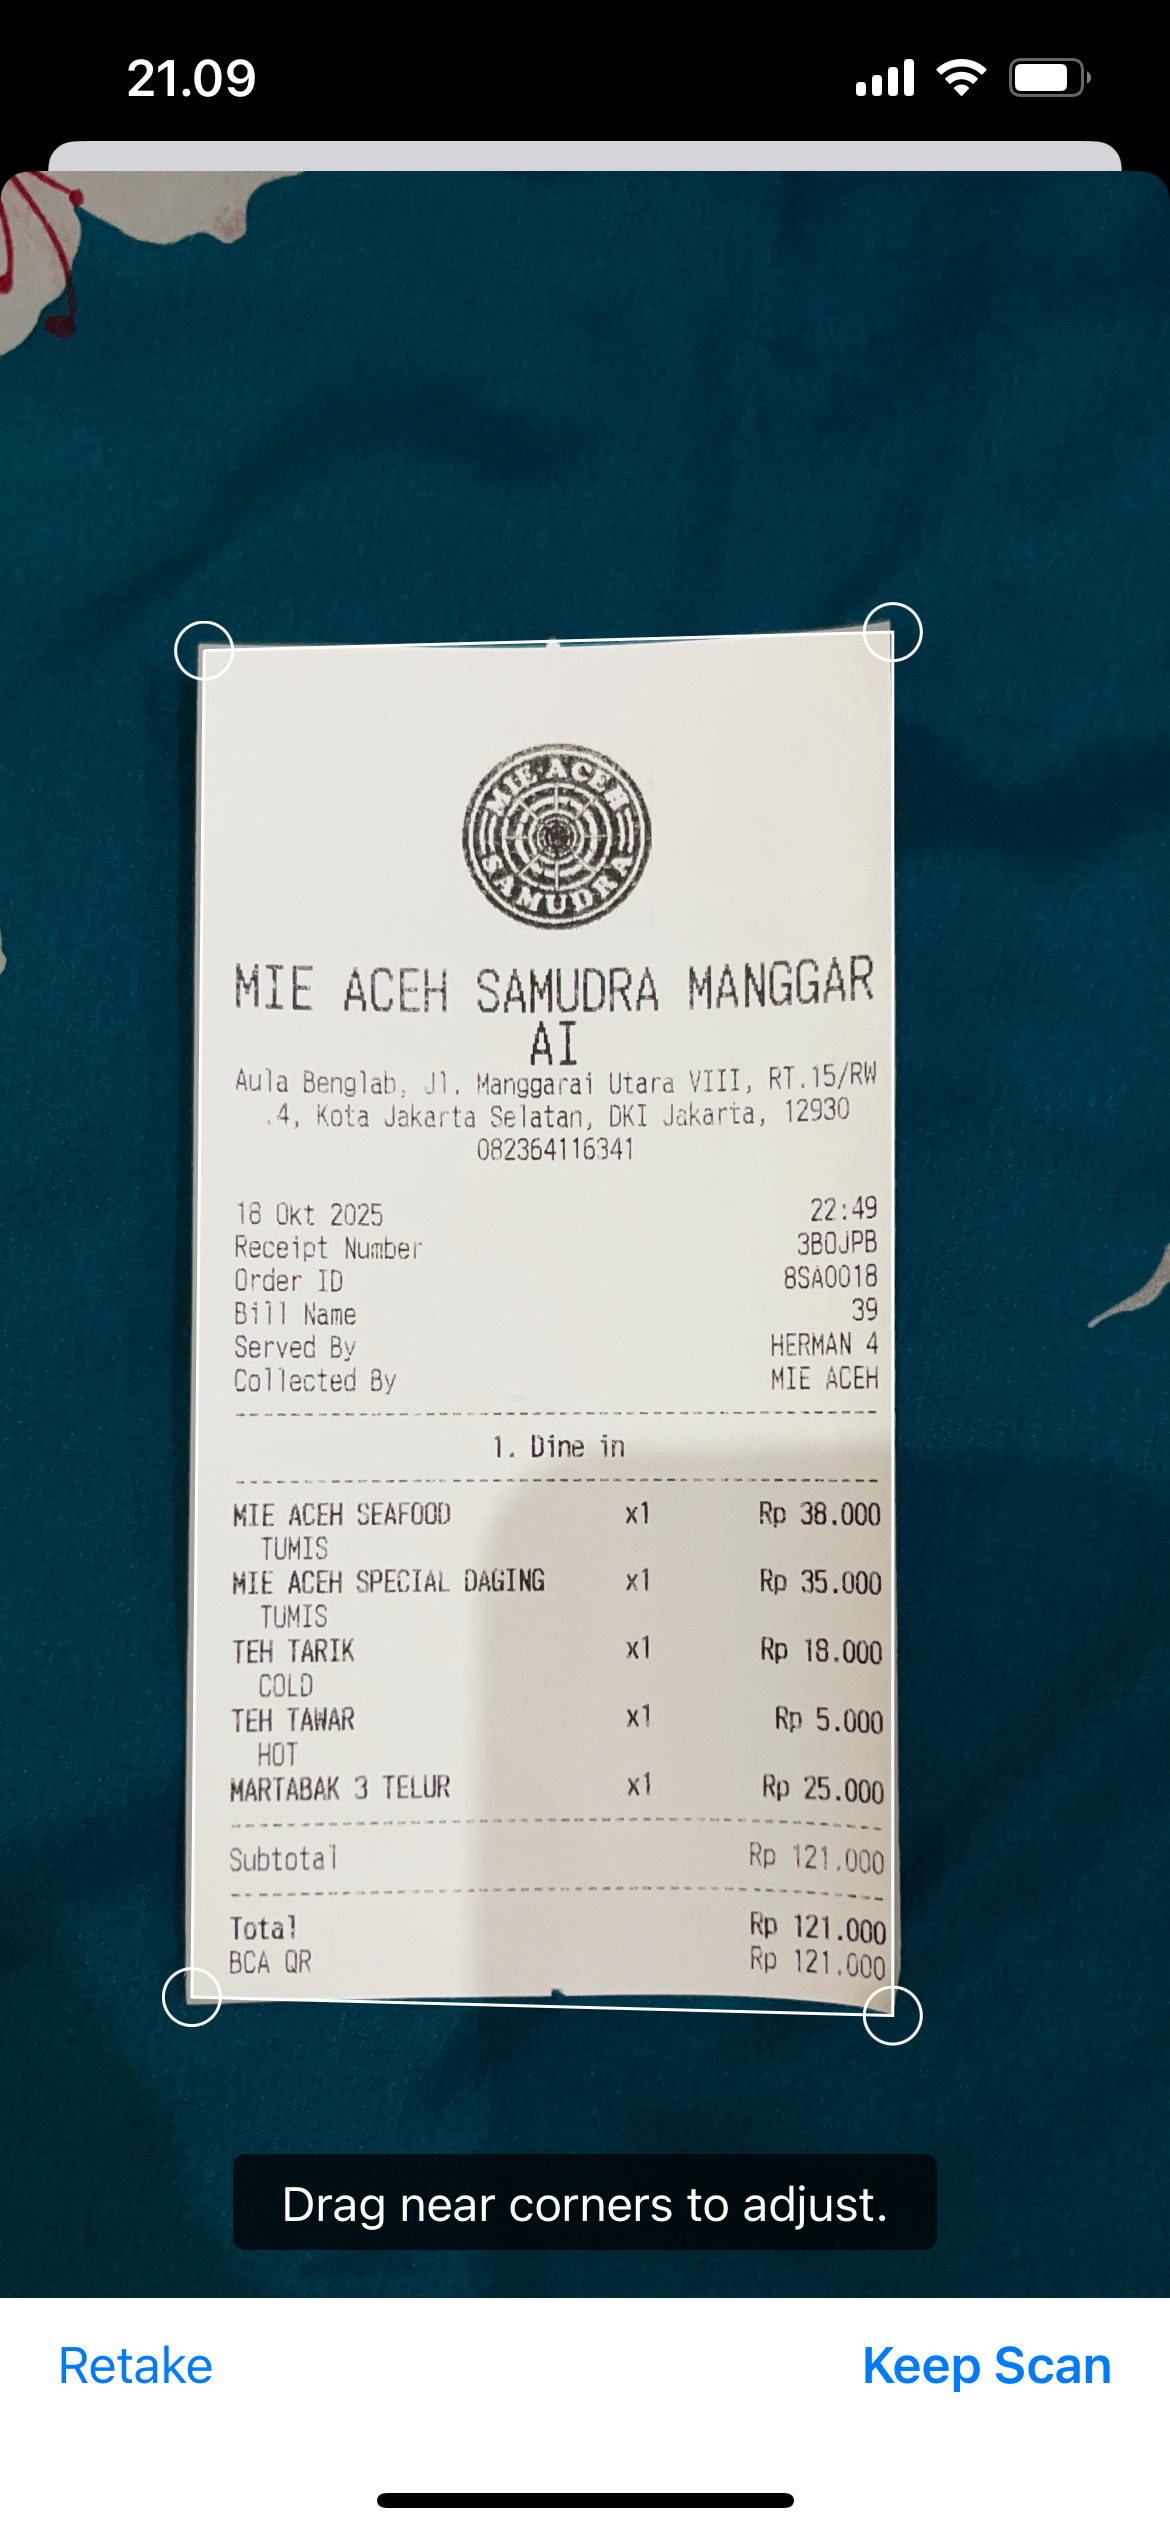
Hold your iPhone directly above the receipt, keeping it parallel to the surface. Scantific will automatically detect the edges of your receipt. You’ll see corner markers or a border overlay showing what will be captured. Adjust your position until the entire receipt is within the frame.
Step 4: Capture the Image
Once Scantific has detected the receipt edges, it will either automatically capture the image or you can tap the capture button. The app uses intelligent edge detection to ensure you get a clean, properly aligned scan every time.
Step 5: Review and Adjust
After capturing, Scantific will show you a preview of your scanned receipt. The app automatically enhances the image by adjusting contrast, removing shadows, and straightening the perspective. If needed, you can manually adjust the corners or crop the image to ensure everything looks perfect.
Step 6: Save and Organize
Once you’re happy with the scan, save it then you will be led to a view where you can manage the document. You can add another image, move it to another document, delete the images or share to others.
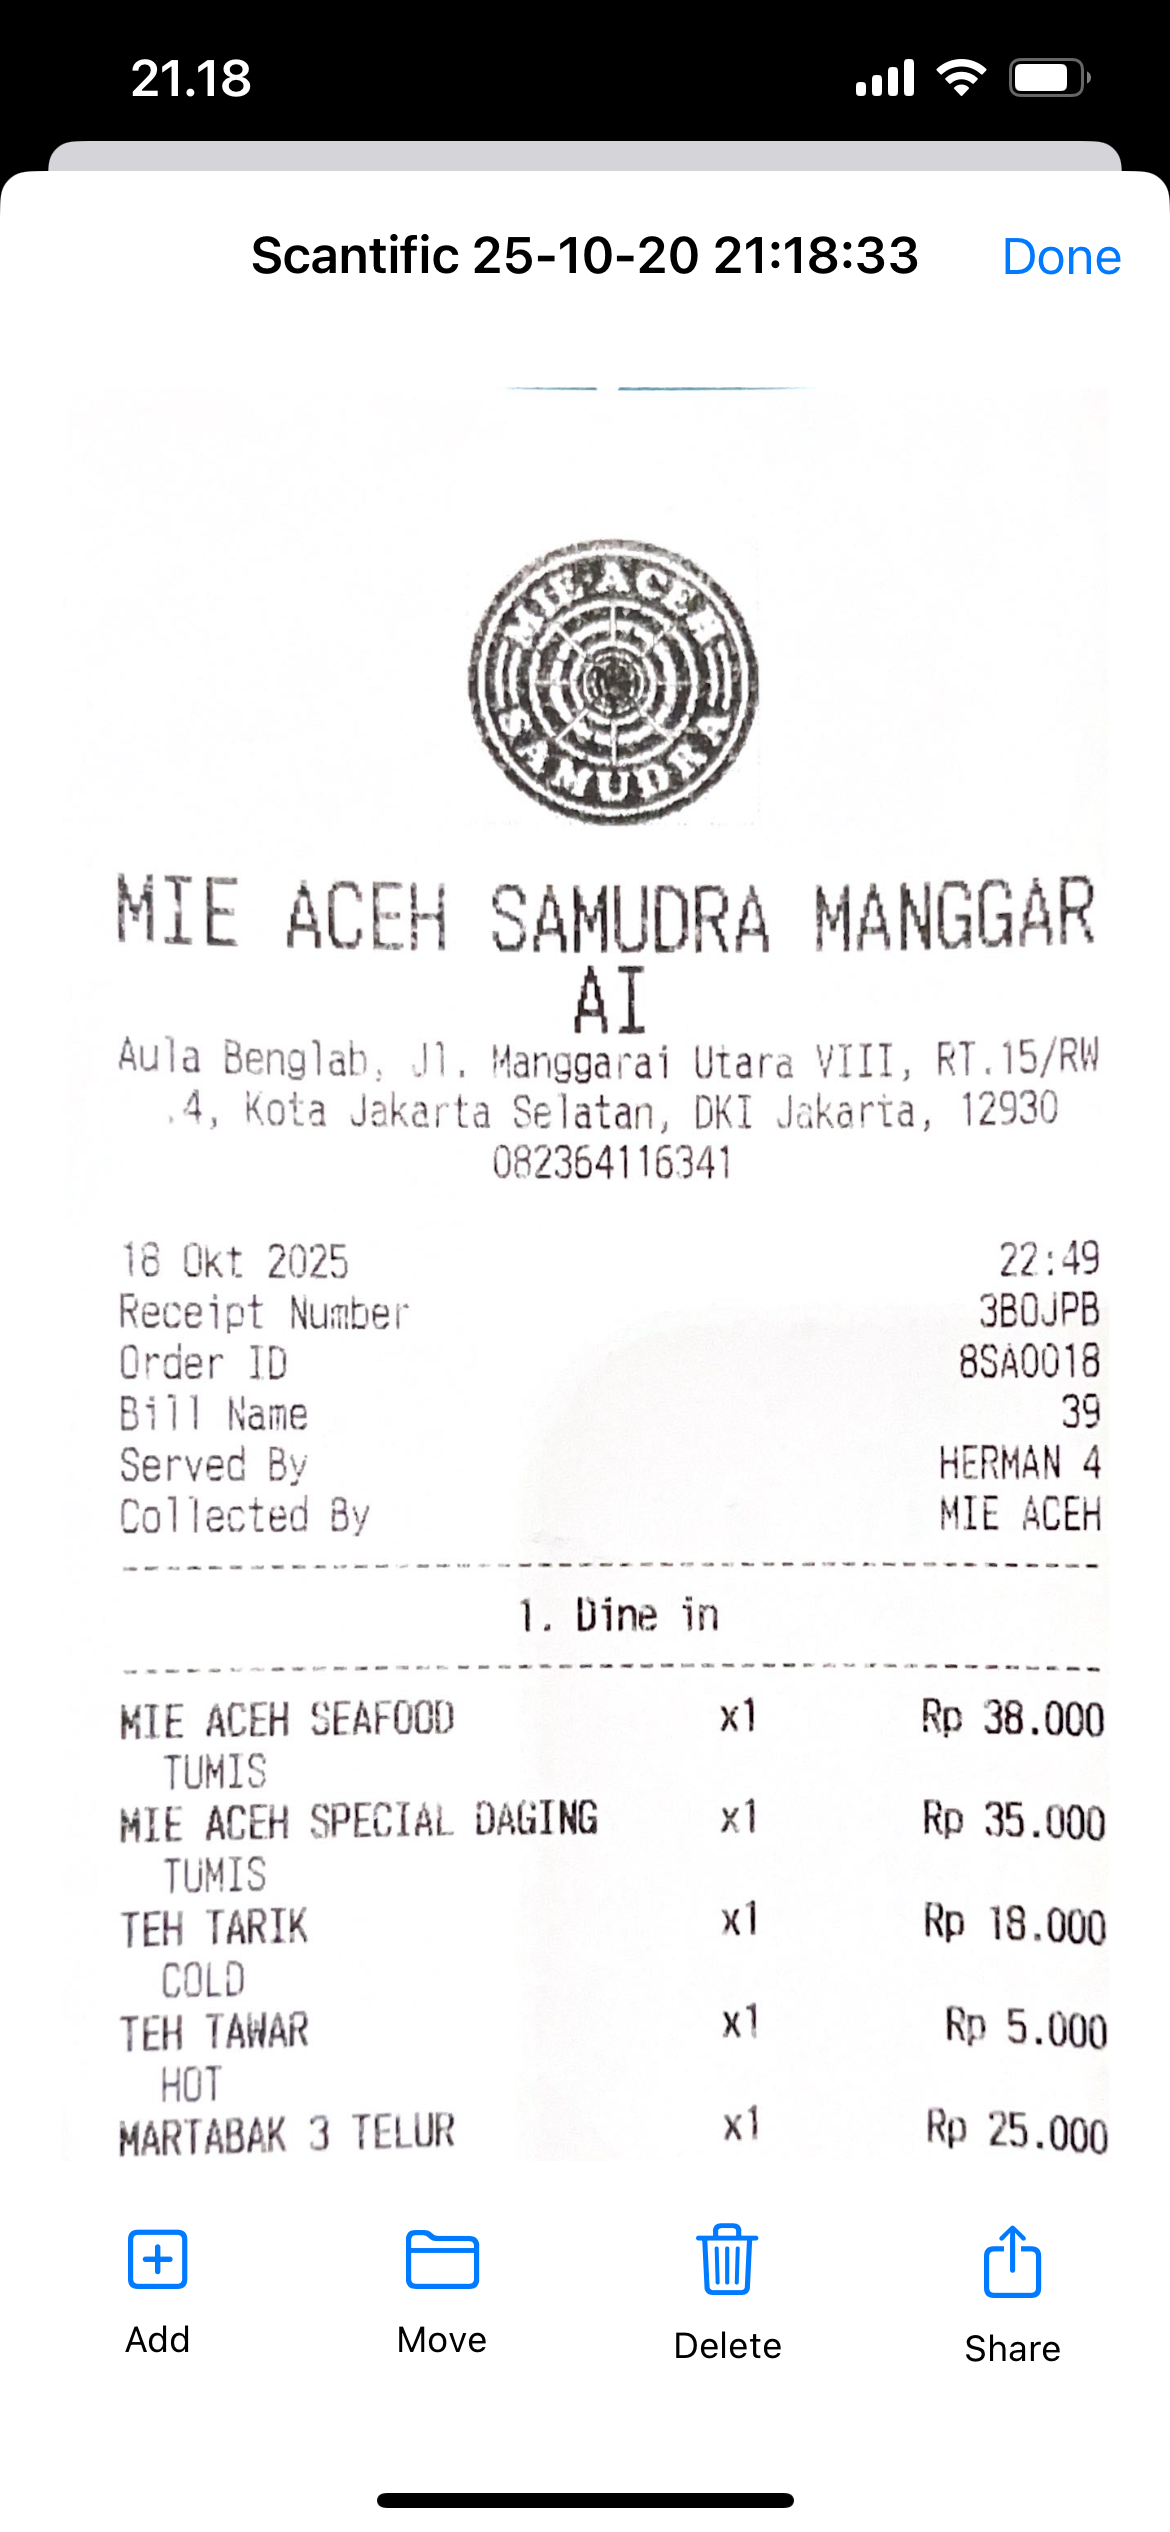
When you go back to Home or Files tab, you can see your saved document.
Pro Tips for Perfect Receipt Scans
Want to get the absolute best results from Scantific? Follow these expert tips:
Lighting is Everything - Avoid harsh shadows or glare from overhead lights. Natural, diffused light produces the clearest scans. If you’re scanning indoors, position yourself near a window or use even overhead lighting.
Keep it Steady - Hold your iPhone steady when capturing. If you have shaky hands, rest your elbows on a table or use both hands to stabilize your device.
Scan Immediately - Receipt ink fades over time, especially thermal paper receipts. Scan them as soon as possible after purchase to ensure all information is captured clearly.
Clean Your Camera Lens - A smudged lens can result in blurry scans. Give your iPhone’s camera a quick wipe with a soft cloth before scanning.
Flatten Curled Receipts - Long receipts tend to curl. Use a book or your hand to hold them flat while scanning for better edge detection.
Batch Scanning - If you have multiple receipts, Scantific makes it easy to scan them all in one session. This is perfect for weekly expense reports or monthly bookkeeping.
Organizing Your Scanned Receipts
Scanning is just the first step. The real power of Scantific comes from its organizational features:
Create Categories - Set up folders for different expense types like meals, travel, supplies, or client projects. This makes finding specific receipts much faster.
Use Descriptive Names - Instead of generic names, label your receipts with meaningful descriptions like “Client Dinner - Smith Co - March 15” or “Office Supplies - Staples.”
Add Notes and Tags - Include additional context that might be helpful later, such as who you met with, what the purchase was for, or which project it relates to.
Regular Backups - Make sure your scanned receipts are backed up to iCloud or your preferred cloud storage service. This protects your data if something happens to your device.
Common Receipt Scanning Scenarios
Business Expenses - Scan receipts immediately after business meals, travel expenses, or supply purchases. Your future self will thank you when it’s time to file expense reports.
Tax Deductions - Keep digital copies of all potentially deductible expenses throughout the year. When tax season arrives, you’ll have everything organized and ready to go.
Warranty Management - Scan receipts for major purchases like electronics, appliances, or furniture. Store them with product manuals so you have proof of purchase if you need warranty service.
Budget Tracking - Scan all your receipts to get a complete picture of your spending habits. Many apps can extract amounts and dates to help you analyze your expenses.
Shared Expenses - Scanning receipts makes it easy to split costs with roommates, partners, or colleagues. Simply share the digital copy instead of passing around crumpled paper.
Troubleshooting Common Issues
Receipt Won’t Be Detected - If Scantific isn’t recognizing your receipt edges, try improving the lighting or moving to a surface with better contrast. A dark receipt on a light background (or vice versa) works best.
Text is Blurry - This usually means you’re too close or too far away. Adjust your distance until the text is sharp in the preview. Also check that your camera lens is clean.
Colors Look Washed Out - Scantific optimizes for readability, which sometimes means adjusting colors. If you need true color accuracy, check the app settings for different scan modes.
File Size Too Large - If you’re running out of storage, look for quality settings in Scantific that allow you to reduce file size while maintaining readability.
The Bottom Line
Scanning receipts with Scantific on your iPhone is quick, easy, and incredibly practical. In just a few taps, you can transform paper receipts into organized digital records that are searchable, shareable, and safely stored. Whether you’re tracking business expenses, preparing for taxes, or just trying to declutter, Scantific makes the process painless.
The key is to make it a habit. Scan receipts right away instead of letting them pile up in your wallet or drawer. With Scantific’s intuitive interface and powerful features, you’ll wonder how you ever managed without it.
Ready to take control of your receipts? Download Scantific today and experience the convenience of truly paperless receipt management.